
RISC-V Processor Design Course - Lec 1
Intro & Setting up the Dev Environment of Tiny Vedas

Introduction: From Zero to a Working RISC-V Core
Ever wondered how the brain of your computer works? This guide will take you from knowing nothing about processor design to having Tiny Vedas, a complete, open-source RISC-V processor running on your machine.
Meet Your Guide
This tutorial is based on Marco's RISC-V Processor Design Course, taught by an instructor with:
PhD in Electrical Engineering
6+ years teaching RISC-V at undergraduate and graduate levels
10+ years in the RISC-V industry
Expertise in AI accelerators and high-speed network packet processing
What You'll Build: Tiny Vedas
In this course, we'll design and implement a RISC-V processor. It's going to be a small processor, but it will allow us to see 90% of computer architecture concepts.
Important disclaimer: This course is not meant to be a comprehensive guide to RISC-V or processor design. It's intended to give you a quick and fast track to building a RISC-V processor from the ground up.
No prerequisites required - this course is targeted to people straight out of high school.
Core Features
ISA: RISC-V RV32IM (32-bit integer with multiply/divide extensions)
Pipeline: 4-stage pipeline (IFU → IDU0 → IDU1 → EXU)
Architecture: Harvard architecture with separate instruction and data memories
Data Width: 32-bit (XLEN = 32)
Reset Vector: Configurable (default: 0x80000000)
Supported Instructions
The processor implements the complete RV32IM instruction set:
Arithmetic: ADD, SUB, ADDI, LUI, AUIPC
Logical: AND, OR, XOR, ANDI, ORI, XORI
Shifts: SLL, SRL, SRA, SLLI, SRLI, SRAI
Comparison: SLT, SLTU, SLTI, SLTIU
Branches: BEQ, BNE, BLT, BGE, BLTU, BGEU
Jumps: JAL, JALR
Memory: LB, LH, LW, LBU, LHU, SB, SH, SW
Multiply/Divide: MUL, MULH, MULHU, MULHSU, DIV, DIVU, REM, REMU
Understanding the Basics
What is a Processor?
A processor is a device that executes instructions on data.
When you write a program in C or Python, it eventually gets translated into a series of simple instructions that the processor understands. These might be commands like "add these two numbers," "store this value in memory," or "jump to a different part of the program if this condition is true." The processor executes millions or billions of these instructions per second, creating the illusion of complex behavior from very simple operations.
To build a processor, we need to describe its internal workings, which we refer to as the microarchitecture. This includes defining how instructions flow through the processor, how data is stored and manipulated, and how different components communicate with each other. We describe all of this using special programming languages called Hardware Description Languages (HDLs).
Why SystemVerilog?
Tiny Vedas is written in SystemVerilog, and here's why this is the perfect choice for our learning journey:
Familiar Syntax: It's similar to C, making it accessible to software developers.
Industry Standard: It's an industry-standard HDL. Learning SystemVerilog means you're developing skills directly applicable to the semiconductor industry.
Right Level of Abstraction: SystemVerilog provides a sweet spot between low-level circuit description and high-level behavioral modeling.
Learn As You Go: You'll learn just what you need – no unnecessary complexity
The Instruction Set Architecture (ISA)
The ISA is essentially a contract – a formal agreement between the hardware designers and software developers about how the processor will behave. It's the most essential document in processor design because it defines the boundary between hardware and software.
The ISA comprehensively defines:
Instruction Set: The complete list of operations the processor can perform. For RISC-V RV32IM, this includes approximately 50 different instructions that cover arithmetic operations (add, subtract, multiply), logical operations (AND, OR, XOR), memory access (load, store), and control flow (branches, jumps).
Register Organization: Registers are the processor's working memory – think of them as the processor's scratchpad. RV32I defines 32 general-purpose registers, each 32 bits wide.
Data Movement: The ISA specifies exactly how data moves between registers, memory, and the outside world. It defines the size of data transfers (byte, half-word, word), alignment requirements, and what happens when you try to access memory in different ways.
Memory Model: How does the processor see memory? The ISA defines the address space (for RV32, this is 4GB of addressable memory), how instructions and data are stored, and the rules governing memory ordering – a crucial aspect for multi-threaded programs.
Control and Status Registers (CSRs): In addition to general-purpose registers, processors have specialized registers for system control, performance monitoring, and exception handling. The ISA defines the purpose of these registers and how programs can access them.
Exception Handling: What happens when something goes wrong? The ISA defines how the processor responds to errors, such as invalid instructions, memory access violations, or external interrupts.
Why RISC-V?
RISC-V, created at UC Berkeley in 2010, has become the go-to choice for processor education and innovation because it's:
Open source – No licensing fees or restrictions
Simple – Clean design perfect for learning and teaching
Modular – Add only the features you need
Industry-backed – Growing ecosystem with major industry support
Your Development Toolkit
All tools are free and open source:
Core Tools
SystemVerilog - Hardware description language
Verilator - Fast, open-source SystemVerilog simulator
GTKWave - Waveform viewer for debugging
VS Code - Modern code editor
Git - Version control
RISC-V Specific Tools
RISC-V GNU Toolchain - Compiler for RISC-V programs
Python 3 - For build scripts and utilities
Course Structure & Learning Path
The journey to building your processor follows a progression, designed to build knowledge layer by layer. Each stage prepares you for the next, ensuring you never feel overwhelmed as you steadily advance toward the goal of a working RISC-V processor.
Foundation: Logic gates, sequential systems, SystemVerilog basics
ISA Understanding: RISC-V instruction set fundamentals
Pipeline Design: Building the 4-stage pipeline
Hazard Handling: Data forwarding and control hazards
Testing: Verification and validation
Optimization: Performance improvements, resource optimization, feature additions.
Setting Up Your Development Environment
System Requirements
OS: Ubuntu 20.04+ (recommended)
RAM: 4GB minimum (8GB recommended)
Storage: 2GB free space
Step 1: Clone the Repository
git clone https://github.com/siliscale/Tiny-Vedas.git
cd Tiny-Vedas
Step 2: Install Dependencies
# Update package list
sudo apt update

# Install Verilator
sudo apt-get install verilator

# Install RISC-V toolchain
sudo apt-get install gcc-riscv64-linux-gnu

# Install Python dependencies
pip install -r requirements.txt

# Install GTKWave for waveform viewing
sudo apt-get install gtkwave

# Install build essentials
sudo apt-get install build-essential
Step 3: Verify Installation
# Check Verilator
verilator --version

# Check RISC-V GCC
riscv64-linux-gnu-gcc --version

# Run a quick test
make core_top_sim
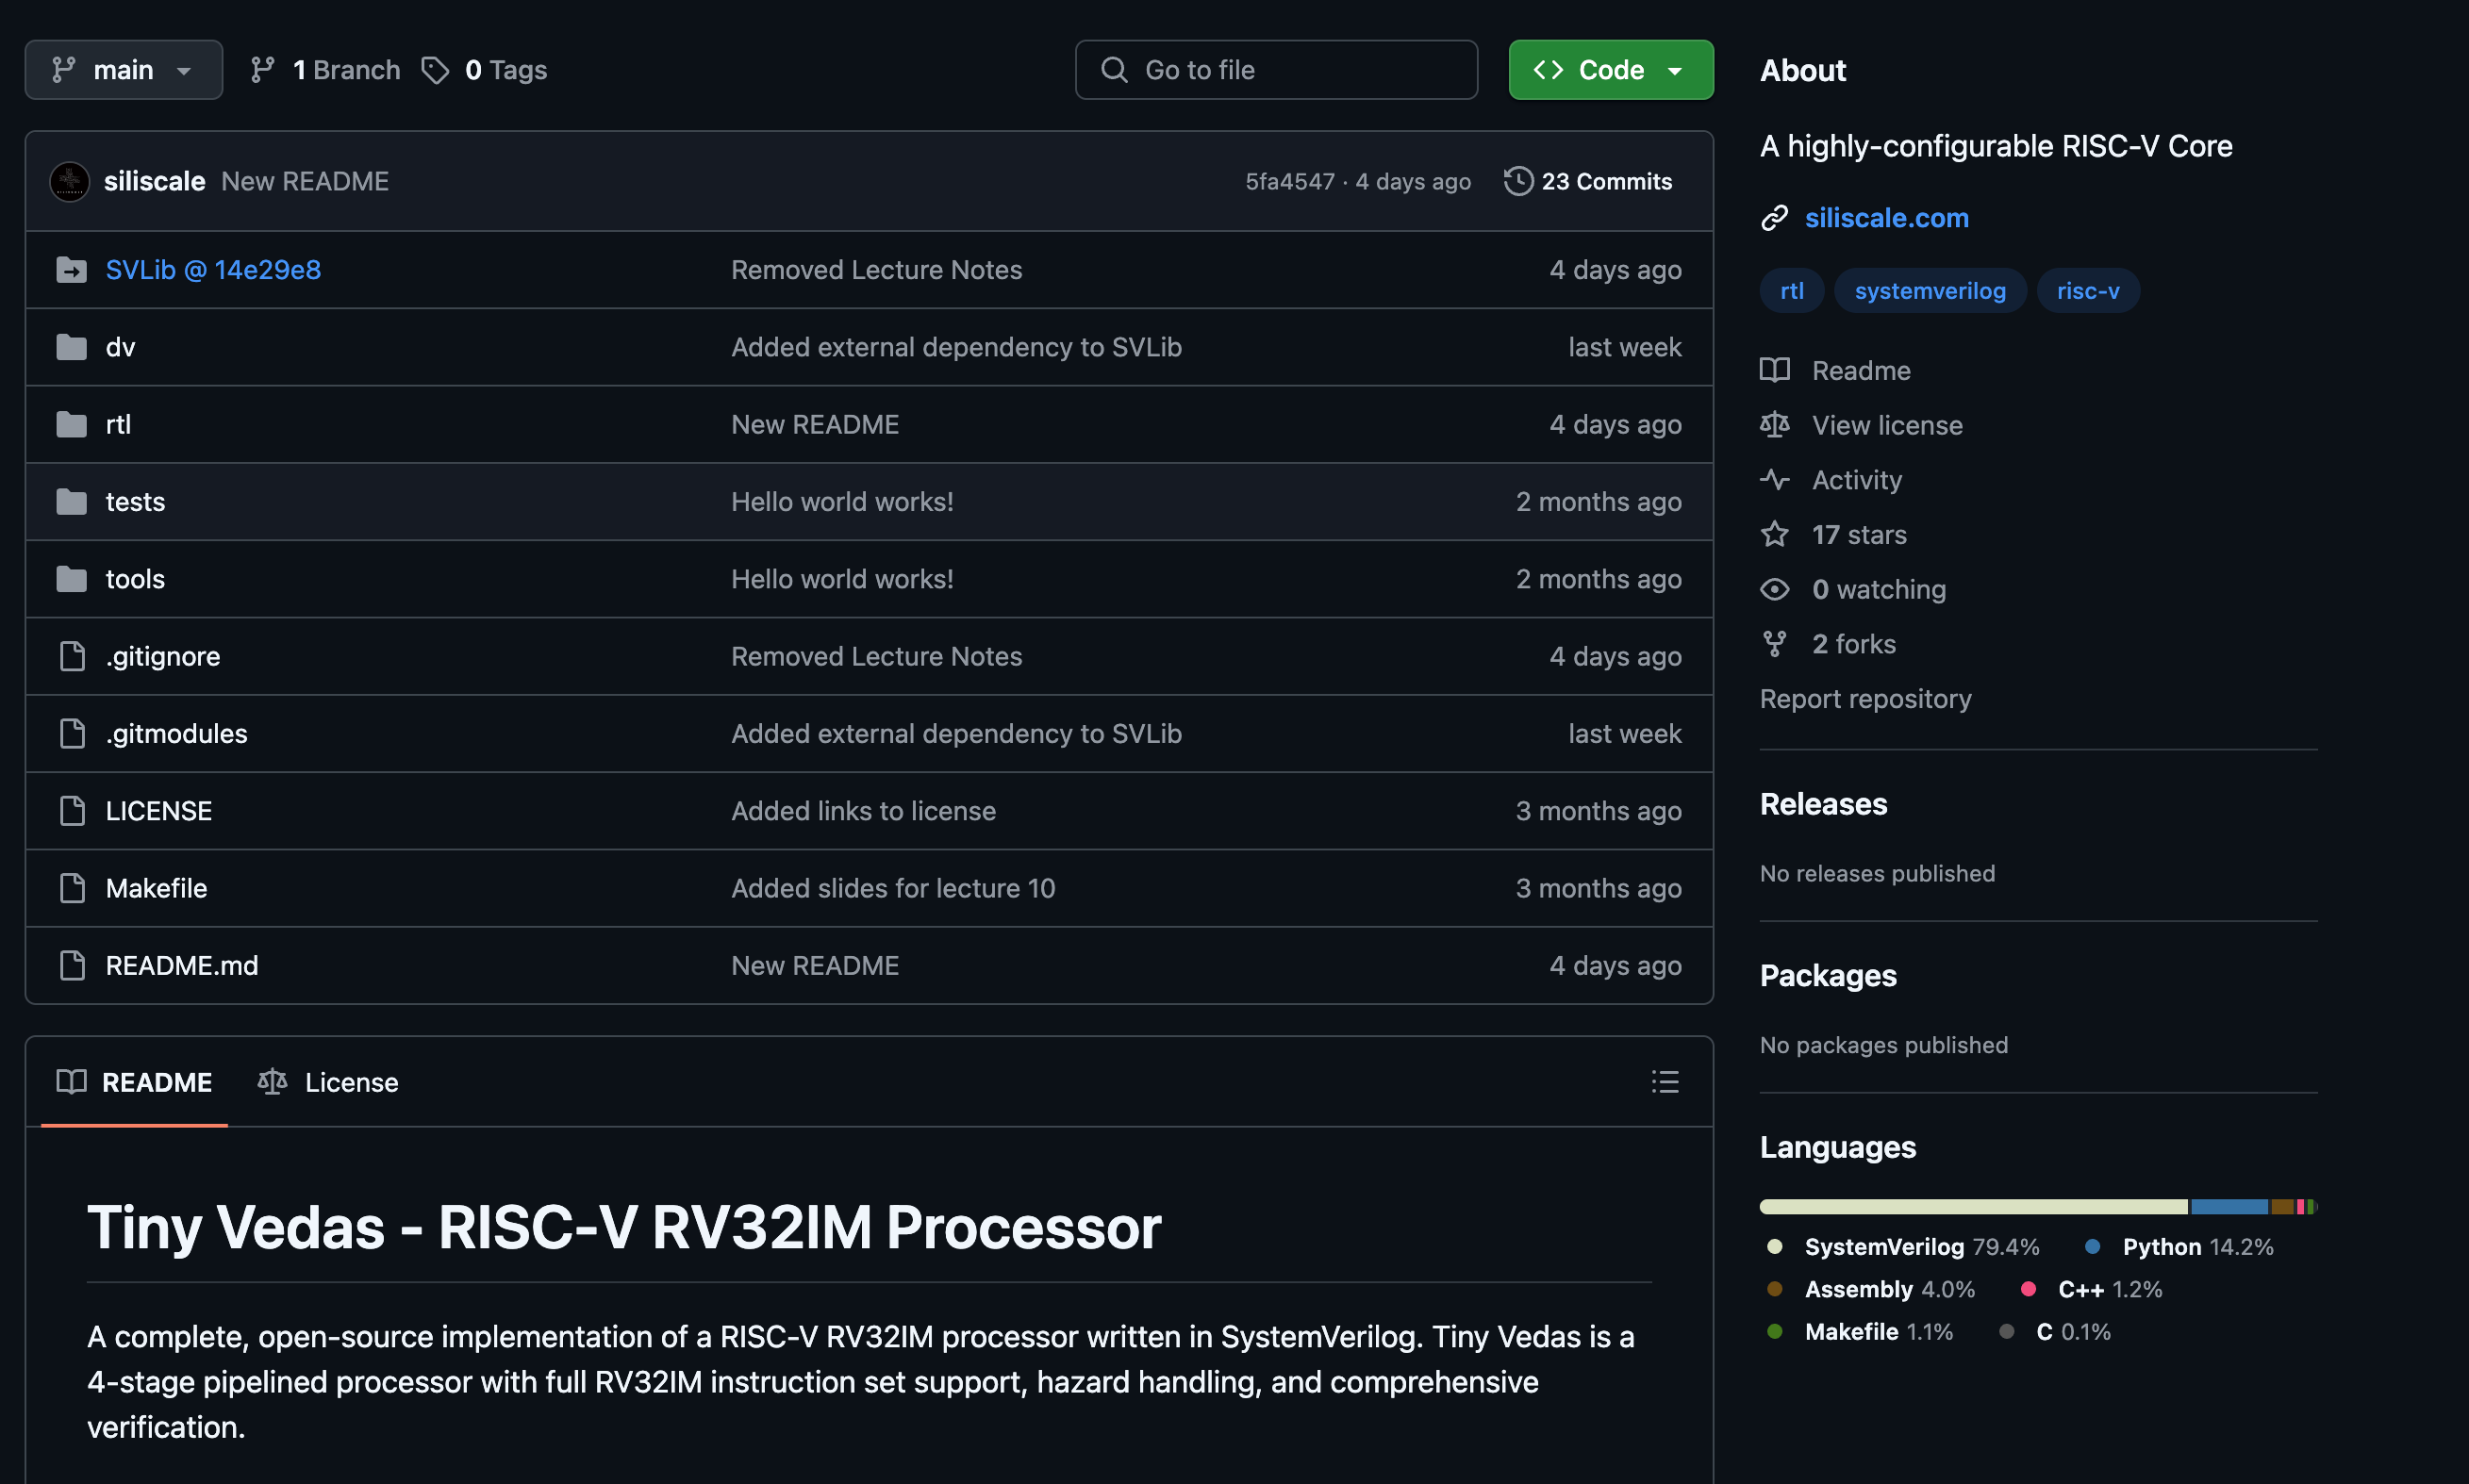
Project Structure Overview
Understanding the codebase organization:
tiny-vedas/
├── rtl/              # RTL design files
│   ├── core_top.sv   # Top-level processor
│   ├── ifu/          # Instruction fetch unit
│   ├── idu/          # Instruction decode units
│   ├── exu/          # Execute unit
│   └── lib/          # Utility modules
├── tests/            # Test programs
│   ├── asm/          # Assembly tests
│   └── c/            # C program tests
├── dv/               # Design verification
└── tools/            # Development utilities
Running Your First Simulation
Basic Simulation
# Run the main processor simulation
make core_top_sim
This command:
Compiles the SystemVerilog design
Runs the testbench
Executes test programs
Generates waveforms and logs
Testing Specific Features
# Test ALU operations
cd tests/asm
make basic_alu_r

# Test multiplication
make basic_mul

# Test branches
make basic_branch

# Run a C program
cd ../c
make helloworld
Understanding the Pipeline
Tiny Vedas uses a 4-stage pipeline. Think of it like an assembly line - while one instruction is being executed, another is being decoded, and another is being fetched. This way we can process multiple instructions simultaneously.
The Four Pipeline Stages
IFU (Instruction Fetch): Fetches instructions from memory
Manages the Program Counter (PC) that tracks where we are in the program
Reads the next 32-bit instruction from memory
Passes the instruction to the decode stage
IDU0 (Decode Stage 0): Initial instruction decode
Figures out what type of instruction we have
Extracts the opcode, register numbers, and immediate values
Generates control signals for the rest of the pipeline
IDU1 (Decode Stage 1): Register read and operand preparation
Reads values from the register file
Prepares operands for execution
Handles data forwarding to resolve hazards
EXU (Execute): Where the actual work happens
ALU performs arithmetic and logic operations
Load/Store Unit (LSU) handles memory access
Results are written back to registers
Key Features
Data Hazard Resolution: When an instruction needs a value that's still being computed, we forward it directly from EXU to IDU1 instead of waiting
Control Hazard Handling: When we take a branch, we flush incorrect instructions from the pipeline
Multi-cycle Operations: Multiplication and division take multiple cycles, but they're pipelined so we don't block other instructions
Memory Forwarding: If we store a value and immediately load it, we forward the data without going to memory
Performance Characteristics
CPI: ~1.0 for most workloads
Branch Penalty: 1 cycle for taken branches
Memory: 1KB instruction + 1KB data memory
Resource Usage: ~2000 flip-flops, ~5000 LUTs (FPGA estimate)
Next Steps
Once you have everything running, here's how to deepen your understanding:
Explore the RTL: Start with
rtl/core_top.sv. This is the top-level file that connects all the components. Follow the module connections to understand how data flows through the processor. The code is well-commented, so take time to read through it.Run Tests: Try all tests in
tests/asm/. Each test includes assembly code that you can read to understand what is being tested. Check the logs to see execution traces.Write Your Own: Create simple RISC-V assembly programs. Start with something basic, such as calculating Fibonacci numbers or finding the maximum value in an array. This helps you understand the ISA from a programmer's point of view.
Modify the Core: Once comfortable, try small modifications:
Add performance counters to count instructions or cycles
Implement a new instruction
Optimize the critical path
Add debug features
Join the Community: Contribute improvements back. Submit bug reports if you find issues, share your modifications, ask questions.
Debugging Tips
Use Waveforms: GTKWave helps visualize signal behavior
Check Logs:
rtl.logshows instruction execution traceStart Simple: Begin with basic ALU tests
Read the Source: The code is well-commented
Common Issues and Solutions
Verilator Version
If you encounter SystemVerilog support issues, compile Verilator from source:
# Download the latest Verilator
git clone https://github.com/verilator/verilator
cd verilator
autoconf
./configure
make -j$(nproc)
sudo make install
Memory Initialization
Ensure your test programs are properly loaded:
Check the
.memfiles in the test directoriesVerify memory addresses match your program
Contributing to Tiny Vedas
The project welcomes contributions:
Fork the repository
Create a feature branch
Add tests for new functionality
Submit a pull request
Conclusion
Building a processor might seem difficult, but with this setup, you're now ready to explore the world of processor design. In the following steps, you'll start modifying the design, adding features, and gain a deeper understanding of how processors work at the most fundamental level.
Welcome to the world of RISC-V processor design.
See you in the next episode!
This tutorial is based on the Tiny Vedas project and Marco's RISC-V Processor Design Course. Tiny Vedas is licensed under the Apache 2.0 license.